There's something undeniably comforting about the smell of freshly baked dinner rolls wafting through the house. These heavenly vegan dinner rolls are a testament to the fact that plant-based ingredients can yield results just as fluffy and delightful as their traditional counterparts. I remember my first foray into vegan baking; I was skeptical that I could achieve the same pillowy texture without dairy or eggs. But after several trials and a few less-than-perfect batches, I've crafted a recipe that even my non-vegan friends adore. The secret lies in the combination of almond milk and olive oil, which work together to create a tender crumb and a golden crust that's simply irresistible.
My journey with these rolls began as a challenge from a vegan friend who missed the classic dinner rolls of her childhood. I took inspiration from traditional recipes, adapting them with plant-based ingredients. The first few attempts were admittedly a bit dense, but I soon learned that the key was in the proofing process and the quality of the yeast. Now, after much tweaking and taste-testing, I'm proud to share this recipe that's been a labor of love. Let's dive into the world of vegan baking together with these delectable dinner rolls.
Ingredients
- Unsweetened almond milk — 1 cup, warmed to 110°F (43°C)
- Granulated sugar — 2 tablespoons
- Active dry yeast — 1 packet (2 ¼ teaspoons)
- All-purpose flour — 3 ½ to 4 cups, plus more for kneading
- Extra virgin olive oil — ¼ cup, plus extra for greasing
- Sea salt — 1 teaspoon
- Maple syrup — for brushing (optional)
Instructions
- Start by warming the almond milk gently on the stove or in the microwave until it reaches the optimal temperature for yeast activation, which is around 110°F (43°C). I've learned that too hot can kill the yeast, and too cold won't wake it up from its slumber. Use a kitchen thermometer to check the temperature, as accuracy here is crucial.
- In a large mixing bowl, whisk together the warm almond milk, sugar, and yeast. Let this mixture sit for about 5-10 minutes until it becomes frothy and bubbly. This is proofing the yeast, and it's a magical moment that never fails to amaze me. If the mixture doesn't froth, your yeast may be inactive, and it's better to start over than to end up with rock-hard rolls.
- Add 3 ½ cups of flour, olive oil, and salt to the yeast mixture. Stir with a wooden spoon until a shaggy dough begins to form. I've found that adding the olive oil at this stage, rather than later, ensures it's evenly distributed throughout the dough, contributing to the rolls' tender texture.
- Turn the dough out onto a lightly floured surface and knead for about 8-10 minutes. You're aiming for a smooth, elastic dough that's slightly tacky but not sticky. If the dough is too wet, add more flour a tablespoon at a time. Kneading develops the gluten, which gives the rolls their structure. In my early attempts, I either under-kneaded, resulting in dense rolls, or over-kneaded, which made them tough. It's a fine balance, but when you hit that sweet spot, you'll know by the dough's supple feel.
- Place the dough in a greased bowl, turning it once to coat all sides with oil. Cover with a clean kitchen towel and let it rise in a warm, draft-free place until doubled in size, about 1 to 1 ½ hours. I've used my oven with just the light on for this step, which creates a cozy environment for the yeast to work its magic.
- Once the dough has risen, gently punch it down to release the air bubbles. This step is as satisfying as it is necessary, as it helps create a uniform texture in the baked rolls. Divide the dough into 12 equal pieces, shaping each into a smooth ball. I like to use a bench scraper for even division, but eyeballing it works too.
- Arrange the dough balls in a greased 9x13-inch baking dish. They should be spaced out evenly, as they'll puff up and touch during the second rise. Cover them again with the towel and let them rise for another 30 minutes, or until they've puffed up nicely. This second rise is crucial for achieving that final, glorious fluffiness.
- Preheat your oven to 375°F (190°C). Once the rolls have risen, bake them for 18-22 minutes, or until they're golden brown on top. Every oven is different, so I always start checking at the 18-minute mark. You're looking for that beautiful golden hue and a hollow sound when you tap the bottom of a roll.
- Optional: For a touch of sweetness and a shiny finish, brush the tops of the rolls with maple syrup as soon as they come out of the oven. This step is a nod to my love for maple's natural flavor and the way it complements the nuttiness of the almond milk.
Substitutions
- Almond milk — Any plant-based milk will do, but I prefer unsweetened soy or oat milk for their neutral flavors and creamy consistencies, which mimic traditional milk quite well.
- All-purpose flour — For a whole grain alternative, use half whole wheat flour and half all-purpose flour. The rolls will be denser but still delicious, with a hearty flavor that's particularly good with soups.
Variations
- Herb-infused — Add a tablespoon of finely chopped fresh rosemary or thyme to the dough for an aromatic twist. The herbs infuse the rolls with a subtle fragrance that's perfect for a special dinner.
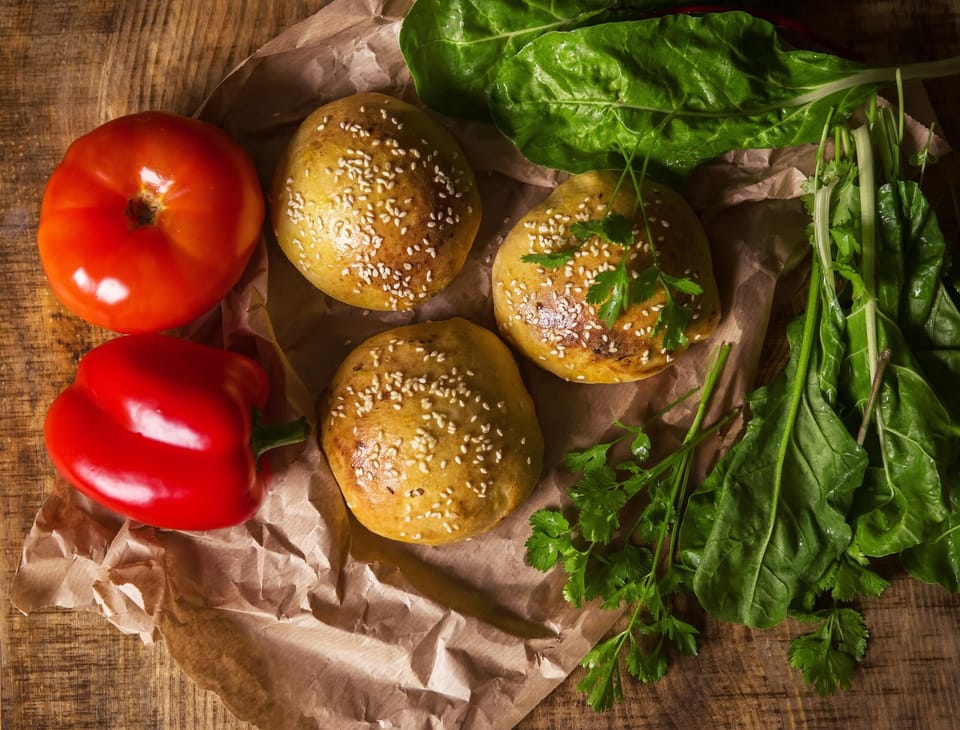
- Seeded tops — Sprinkle the tops of the rolls with sesame or poppy seeds before baking for added texture and visual appeal. I've found that this simple addition can elevate the rolls from everyday to extraordinary.
Dietary Restrictions
- Gluten-free — Use a gluten-free all-purpose flour blend that's designed for baking. Be sure to include xanthan gum if it's not already in the mix, as it helps replicate gluten's binding properties.
Equipment
- 9x13-inch baking dish
- Large mixing bowl
- Wooden spoon
- Kitchen towel
- Measuring cups and spoons
- Bench scraper (optional)
- Pastry brush (for maple syrup glaze)
Storage and Reheating
- Once completely cooled, store the rolls in an airtight container at room temperature for up to 3 days. To keep them soft, I sometimes add a slice of bread to the container, which helps maintain moisture.
- To reheat, wrap the rolls in foil and warm in a preheated 350°F (175°C) oven for about 10 minutes. They'll come out as if they've just been baked, with that same irresistible softness and warmth.
Pro Tips
- Proofing patience — Don't rush the proofing stages. The rolls need this time to develop their flavor and texture. If the dough hasn't doubled in size during the first rise, give it more time. The warmth and the yeast will do their work.
- Even baking — Rotate the baking dish halfway through baking to ensure even browning. Oven hot spots can lead to some rolls cooking faster than others, and this simple step helps prevent that.
- Maple syrup glaze — If you opt for the maple syrup glaze, brush it on lightly. Too much can make the rolls soggy, and you're after just a hint of sweetness and shine.