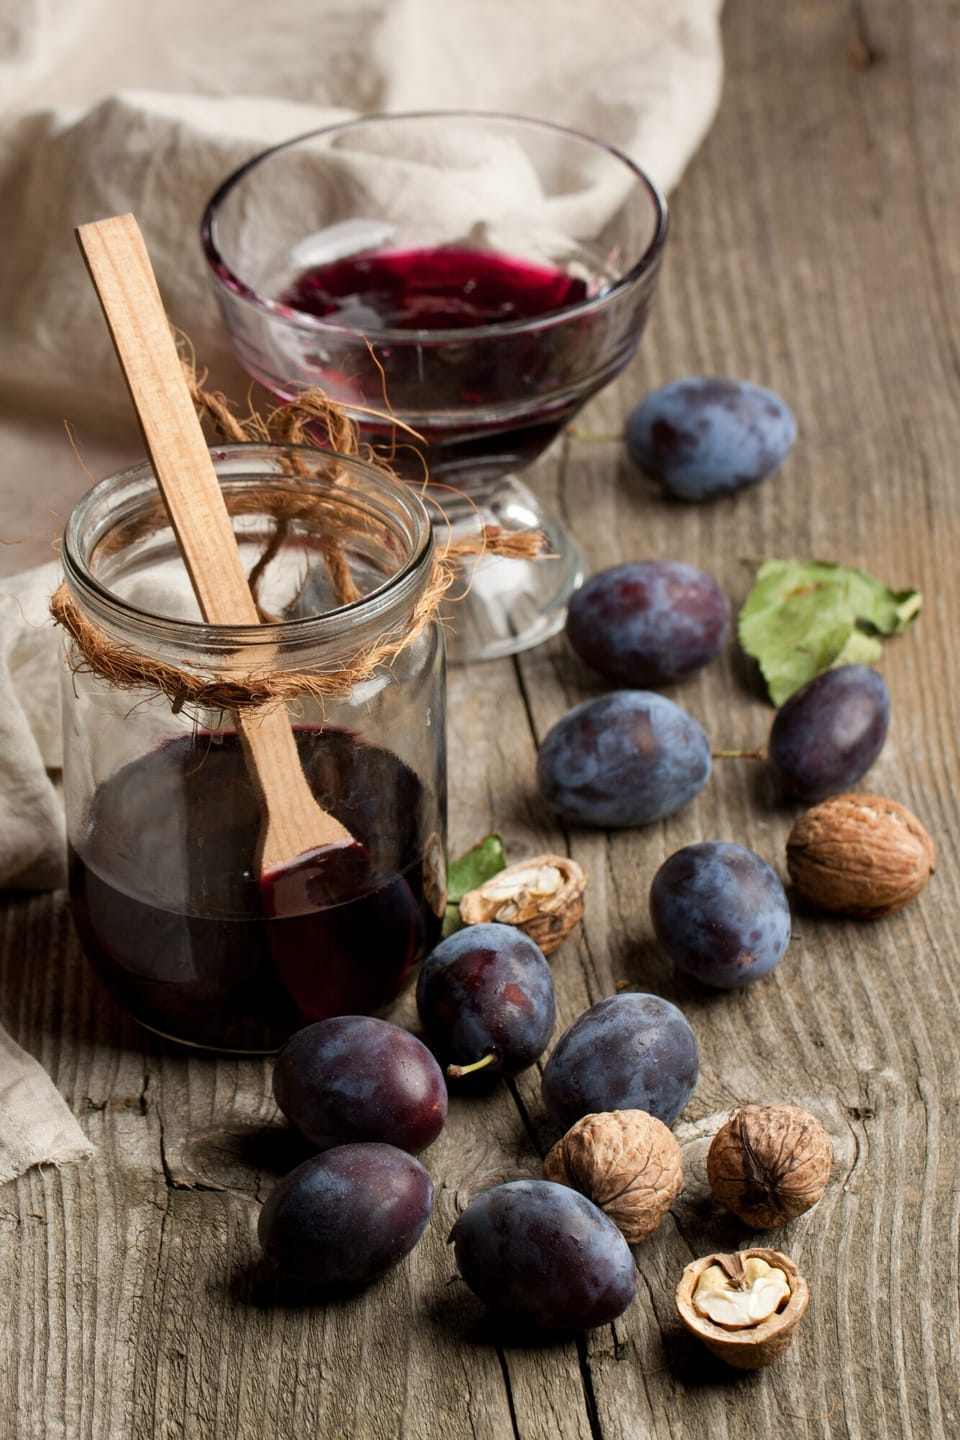
There's a certain magic in the tradition of making rakija, a potent fruit brandy that warms the soul and gathers people together. This homemade Balkan plum rakija recipe is a family heirloom, passed down through generations and perfected with time. I remember my first attempt at distilling rakija; I was eager yet naive, not fully appreciating the delicate balance required to achieve that perfect harmony of flavor and strength. It's a craft where precision meets patience, and each batch tells a story of its maker. The addition of ripe, juicy plums from our orchard gives this rakija its signature deep, aromatic essence that has been celebrated in my family for years.
My journey with this rakija began under the watchful eye of my grandfather, a master of the craft. I recall the first batch being too harsh, a result of rushing the fermentation process. It's essential to respect the time-honored techniques and to understand that the best rakija cannot be hurried. After many seasons and learning from each misstep, I've refined this recipe to what I believe is the epitome of a truly exceptional plum rakija. Let's embark on this distilling adventure together, and may you find as much joy in the process as I have.
Ingredients
- Ripe plums — 44 lbs (20 kg), preferably a variety known for rakija such as Požegača or Čačanska Lepotica
- Water — 2 1/2 gallons
- Wine yeast — 1/4 cup
Instructions
- Start by selecting the ripest plums you can find, as the sugar content is crucial for natural fermentation. Wash the plums thoroughly in cold water to remove any debris or impurities. I learned early on that any unwelcome particles can spoil the mash, leading to off-flavors in the final product.
- Halve the plums and remove the pits. The pits can impart a bitter taste if left in during fermentation, a mistake I made in my first batch that resulted in a less than desirable rakija. Place the halved plums into a large fermentation vessel, such as a wooden barrel or food-grade plastic container.
- Dissolve the yeast in a small amount of lukewarm water and add it to the plums. While not traditional, as wild yeasts typically initiate fermentation, I've found that using a controlled yeast strain can lead to a more consistent end product.
- Mash the plums gently with a clean mashing tool or your hands. This releases the juices and starts the fermentation process. Be careful not to over-mash, as this can break down the fruit too much and create a dense, difficult-to-ferment slurry.
- Cover the vessel with a breathable cloth to keep out insects and debris while allowing natural yeasts to enter. Store it in a cool, dark place. The fermentation process can take anywhere from 4 to 8 weeks, depending on the temperature and sugar content. Stir the mash every few days to prevent mold from forming on the surface and to ensure even fermentation. I've learned that patience during this stage is key; rushing it can result in an incomplete fermentation and a lower-quality rakija.
- Once fermentation is complete, indicated by the cessation of bubbling and a clear separation of solids and liquid, it's time to distill. Transfer the liquid to a copper still, leaving behind the solids. The distillation process should be done slowly and carefully to separate the alcohol from any unwanted compounds. I remember my first distillation being too rapid, which caused a mix of high and low boiling point compounds, resulting in a harsh taste.
- Collect the first 5% of the distillate and set it aside. This is the 'heads,' containing methanol and other volatile compounds, and should not be consumed. Continue distilling until you reach the 'tails,' which emerge towards the end and can be identified by a drop in temperature and a change in aroma. The 'hearts' in between are what you're after; this is the purest and most flavorful part of the distillate.
- Dilute the 'hearts' with water to your desired alcohol content, typically around 40-45% ABV for rakija. Be precise with your measurements; too much water can dilute the flavor, while too little can make the rakija too strong. I use an alcoholmeter to ensure accuracy.
- Age the rakija in oak barrels or glass bottles. Aging allows the flavors to mellow and meld, resulting in a smoother, more rounded spirit. I've found that a minimum of six months aging makes a significant difference, though many connoisseurs prefer several years.
Substitutions
- Plum variety — If you can't find traditional Balkan plum varieties, other sweet, high-sugar plums can be used. The flavor profile will vary, but the essence of rakija remains. I've experimented with local plums and have been pleasantly surprised by the results.
Variations
- Herbal infusions — After distillation, consider infusing the rakija with herbs such as mint or rosemary for a unique twist. I've tried this with a small batch and the herbal notes added an intriguing complexity to the rakija.
Dietary Restrictions
- This rakija is naturally gluten-free and suitable for a variety of dietary restrictions. However, always ensure that all equipment is clean and free from cross-contaminants if this is a concern.
Equipment
- Fermentation vessel (wooden barrel or food-grade plastic container)
- Copper still
- Breathable cloth
- Alcoholmeter
- Oak barrels or glass bottles for aging
Storage and Aging
- Store the rakija in a cool, dark place during aging. If using oak barrels, the rakija will take on some of the wood's character, adding to its complexity. In glass bottles, the rakija will age more slowly and retain more of the original fruit flavor. I've experimented with both and found that each offers a distinct experience.
Pro Tips
- Quality of plums — The quality of your plums is the single most important factor in the quality of your rakija. Always choose the ripest, most flavorful plums you can find. I've learned that the best rakija comes from fruit that I would enjoy eating fresh.
- Controlled fermentation — While wild fermentation is traditional, controlling the process with a specific yeast strain can yield more predictable results. This is especially useful if you're new to rakija making or if you're working in a less-than-ideal environment for wild yeasts.
- Distillation speed — Distill slowly and at a consistent temperature. Rushing this process can lead to a subpar product. It's worth investing the time to get it right.


