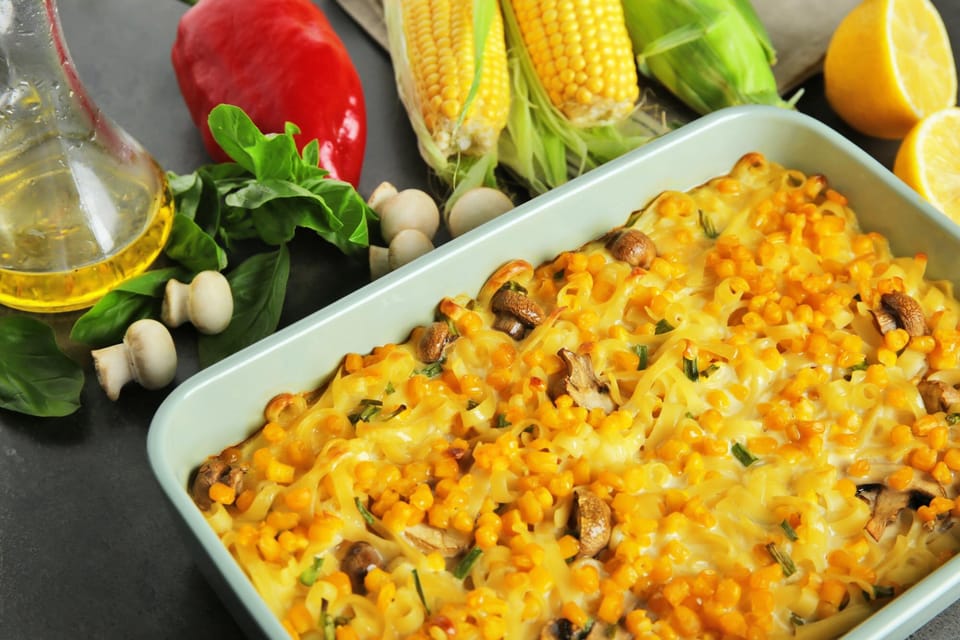
There's a certain magic in the simplicity of a corn casserole, and this Paula Deen-inspired recipe is no exception. It's a dish that I've lovingly tweaked and made my own, adding a cheesy twist that elevates it from a mere side dish to the star of any meal. The first time I made it, I stuck religiously to the original recipe, but as I've grown more confident in the kitchen, I've learned that a little experimentation can lead to delightful results. The addition of sharp cheddar and a touch of heat transforms this classic into a comforting, indulgent experience that's hard to forget.
I first came across this recipe after a long and exhausting search for the perfect Thanksgiving side dish. I remember underestimating the importance of draining the canned corn the first time, which resulted in a slightly soggy texture. It's essential to trust the process and the specified techniques. After several iterations and a few happy accidents, I've perfected this recipe, and it's become a requested favorite at family gatherings. Now, I'm thrilled to pass on my version of Paula Deen's corn casserole, with personal touches that make it uniquely mine.
Ingredients
- Whole kernel corn — 1 can (15.25 oz), drained
- Creamed corn — 1 can (14.75 oz), not drained
- Sour cream — 1 cup
- Unsalted butter — 1/2 cup (1 stick), melted
- Cheddar cheese — 1 cup, shredded
- Jiffy corn muffin mix — 1 box (8.5 oz)
- Large eggs — 2, beaten
- Jalapeño — 1, finely diced (optional for a spicy kick)
- Salt — 1/2 tsp
- Black pepper — 1/4 tsp
Instructions
- Preheat your oven to 350°F (175°C). Grease a 9x13 inch baking dish with butter or non-stick cooking spray. I've found that taking the time to grease the dish thoroughly ensures that every golden, cheesy piece comes out easily, without leaving half of it stuck to the bottom.
- In a large mixing bowl, combine the drained whole kernel corn and creamed corn. Here's where I learned my lesson: make sure to drain the whole kernel corn well. Any excess liquid can throw off the balance of the dish, leading to a less-than-perfect casserole texture.
- Add the sour cream and melted butter to the corn mixture. The sour cream is the secret to that irresistible creaminess, while the butter adds a rich, velvety texture that makes the casserole truly indulgent. Stir these in until well combined.
- Fold in the shredded cheddar cheese. I remember the first time I made this, I mixed the cheese in too vigorously and ended up with a less-than-ideal distribution. A gentle fold is all it takes to ensure that every bite is filled with cheesy goodness.
- Sprinkle the Jiffy corn muffin mix over the corn and cheese mixture. Then, add the beaten eggs, salt, and black pepper. If you're feeling adventurous, this is the time to add the diced jalapeño for that extra kick. Mix everything together until just combined. Overmixing can lead to a dense casserole, so mix until you no longer see dry spots of muffin mix.
- Pour the batter into the prepared baking dish, smoothing the top with a spatula. I've found that starting from the center and working your way out to the edges ensures an even layer, which helps the casserole cook uniformly.
- Bake in the preheated oven for 45-50 minutes, or until the top is golden brown and a toothpick inserted into the center comes out clean. The key here is patience; don't be tempted to pull it out too early. That golden crust is worth the wait and provides a delightful contrast to the creamy interior.
- Allow the casserole to rest for at least 5 minutes before serving. This resting period lets the casserole set, making it easier to slice and serve without it falling apart. It's a small step that makes a big difference in presentation and texture.
Substitutions
- Jiffy corn muffin mix — If you can't find Jiffy mix or prefer to make your own, a combination of flour, cornmeal, sugar, baking powder, and salt can be used as a homemade alternative. I've done this in a pinch, and it turned out beautifully.
- Sour cream — Greek yogurt is a fantastic substitute for sour cream if you're looking for a lighter option. It maintains the creaminess while cutting down on the fat.
- Cheddar cheese — Feel free to experiment with different cheeses. I've tried a mix of Monterey Jack and Pepper Jack for a melty texture with a bit more heat, and it was a hit.
Variations
- Bacon lovers — For an extra savory twist, add crispy, crumbled bacon to the batter before baking. It adds a smoky flavor that pairs wonderfully with the sweet corn.
- Herb-infused — Fresh herbs like thyme or chives can be mixed into the batter for an aromatic touch. I've found that herbs bring a freshness that balances the richness of the casserole.
Dietary Restrictions
- Gluten-free — There are gluten-free cornbread mixes available that work as a direct substitute for the Jiffy mix. Just be sure to check the rest of your ingredients to ensure they're gluten-free as well.
- Lactose-free — Lactose-free dairy products can be used in place of the traditional dairy ingredients without compromising on taste or texture.
Equipment
- 9x13 inch baking dish
- Large mixing bowl
- Whisk or fork (for beating eggs)
- Spatula
- Measuring cups and spoons
- Colander (for draining corn)
Storage and Reheating
- Leftover casserole can be stored in an airtight container in the refrigerator for up to 4 days. I've found that the flavors continue to meld and the casserole becomes even more delicious the next day.
- To reheat, cover with foil and warm in a 350°F (175°C) oven until heated through. This method helps retain the moisture and prevents the casserole from drying out.
Pro Tips
- Even baking — Place the baking dish on the center rack of the oven to ensure even cooking. The middle position allows for the best heat circulation around the dish.
- Shred your own cheese — While pre-shredded cheese is convenient, shredding your own cheese results in a creamier texture as it doesn't contain anti-caking agents.
- Let it set — Resist the urge to cut into the casserole immediately after baking. Letting it rest allows the ingredients to settle and solidify, giving you perfect slices every time.


